

FAQs
TELECONSULT
HOW DO I PREPARE FOR A TELECONSULT?
Depending on your condition, you should have a medical device available for verifying some of your vital signs.
CAN I REQUEST FOR A TELECONSULT IF I HAVE ACUTE CONDITIONS SUCH AS FLU OR TUMMYACHE?
Yes you can, but in order to properly assess your condition, it may be converted to an in-person consultation.
TELEMONITORING
WHAT IS TELEMONITORING?
If you have chronic diseases such as diabetes, we can proactively monitor your condition remotely and provide more continuous and timely care.
WITZGO APP
1. WHAT TO DO IF I FORGET MY WITZGO ACCOUNT PASSWORD?
Click ‘forgot password’, you will receive an email and follow the instructions to change your password.
2. HOW TO RESET MY WITZGO ACCOUNT PASSWORD?
Select menu icon at the top left corner, scroll down and click ‘reset password’.
3. WHAT ARE THE COMPATIBLE DEVICES THAT CAN BE CONNECTED TO WITZCARE APP?
Emfit QS, Fitbit, Garmin Connect, iHealth, Misfit Wearables, Omron Wellness, Strava, Striiv, Withings
4. HOW TO CONNECT WITZCARE TO MY OTHER DEVICE?
Select menu bar> Link Devices > Select App > Log in > Check if the ‘connect+’ change to ‘connected’
5. WHERE TO VIEW MY CARE AGREEMENT?
Select menu bar > Programmes > View Care Agreement
6. HOW TO VIEW ALL MY MEASUREMENTS?
Select menu bar > Measurements OR Select the Measurements icon (last icon at the bottom bar)
7. HOW TO MANUALLY INSERT MY READINGS IF I FORGOT TO UPLOAD OR TOOK THE READINGS USING NON-BLUETOOTH DEVICE?
Select menu bar > Measurements OR Select the Measurements icon (last icon at the bottom bar) > Click the + button > Select an option > Insert your readings
8. HOW TO GENERATE MEASUREMENT REPORT IN PDF FILE?
Select menu bar > Measurement Report > Generate Measurement Report > Click ‘Yes’ > Download or Open to View
9. HOW TO VIEW PREVIOUS MEASUREMENT REPORT?
Select menu bar > Home > Review > Select Measure reports to review OR
Select the Care Journal icon (4th icon at the bottom bar)
10. HOW TO ACCEPT A NEW CARE AGREEMENT?
Select menu bar > Home > Programmes > New Programme Acknowledgement > View Care Agreement > Accept
11. HOW TO SELECT A NEW HEALTHCARE PROVIDER?
Select menu bar > Healthcare Provider > All Clinics > Search for clinic name > Click ‘Request to join as care recipient’ > Wait for clinic to accept
DEVICE TROUBLESHOOTING
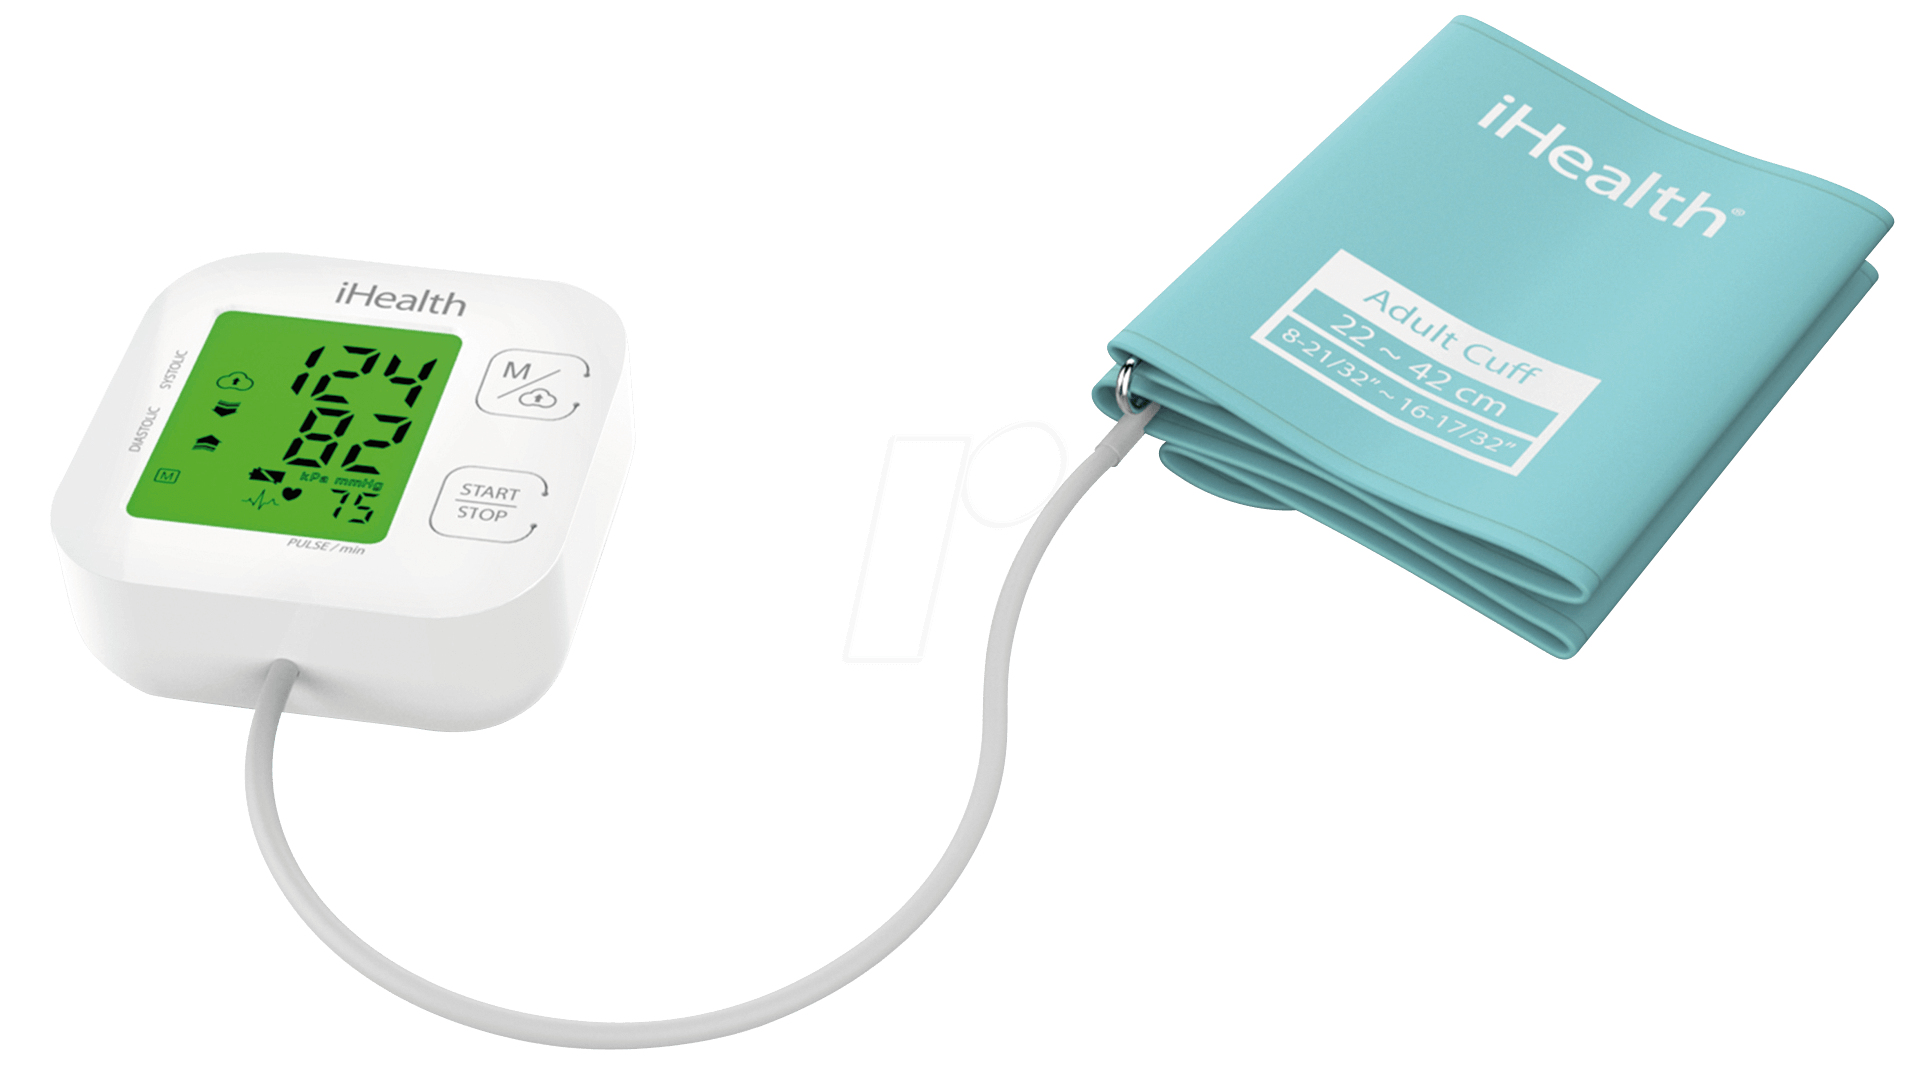
IHEALTH TRACK KN550-BT
1. I CANNOT SYNCHRONISE MY MEASUREMENTS WITH MY SMARTPHONE
The iHealth Track blood pressure monitor uses Bluetooth 4.0 (also known as Bluetooth Low Energy or Bluetooth Smart). This new Bluetooth technology no longer requires manual pairing using the Bluetooth menu of your smartphone. Connection is done directly from the app.
First check in your smartphone's manual or on the manufacturer's website to see if your smartphone has Bluetooth 4.0.
Synchronize your measurements
To synchronize your measurements with your smartphone you must download the free iHealth MyVitals app on the App Store or Google Play depending on your smartphone and create an iHealth account.
1. Place your phone near your blood pressure monitor.
2. Start the iHealth MyVitals app on your smartphone (be sure Bluetooth is activated in the settings). Then go to MENU> Blood pressure.
3. Press the Memory/Synchronization button on the blood pressure monitor to start the connection between the blood pressure monitor and your smartphone.
The Bluetooth icon on the blood pressure monitor blinks. When connected, the Bluetooth icon on the blood pressure monitor is steady and the Synchronize button in the iHealth MyVitals app.
4. In the app, press Synchronize. A page appears with all the non-synchronized measurements. You can synchronize them all at once or only synchronize those you want to.
If the problem persists
1. Close all apps running in the background on your smartphone.
Apple devices - On an Apple device: Double click on the home button and swipe up all open apps (iPhone 8 or earlier model) or swipe up from the bottom of the screen and mark a slight pause in the middle of the screen (iPhone 10 or later model and iPad with iOS 12+).
Android devices - Press the button "open/recent apps" then press "close all".
2. Deactivate Bluetooth on your smartphone.
3. Restart your smartphone.
4. Once your smartphone has restarted, reactivate Bluetooth.
5. Start the iHealth MyVitals app and go to MENU> Blood pressure.
6. Press the Memory/Synchronize button on the blood pressure monitor.
7. Press the Memory/Synchronize button on the app.
2. THE RESULTS OBTAINED SEEM TO BE WRONG
If the results of a measurement appear to be abnormal, take a new measurement taking care to respect the precautions for use:
· Take your measurements under the same conditions (at the same time of day, on the same arm).
· Relax for 5 minutes before taking a measurement.
· Sit comfortably in a quiet place, feet flat on the floor, without crossing your legs.
· Place the cuff at the same level as your heart.
· Don't talk and don't move for the entire measurement.
· Breathe normally.
3. THE DATE AND TIME ON THE BLOOD PRESSURE MONITOR ARE NOT CORRECT
If you have not used your blood pressure monitor for a long time and/or the batteries have been removed or replaced, you must reconnect the blood pressure monitor to your smartphone to update the date and time.
1. Start the iHealth MyVitals app.
2. Press the Memory/Synchronise button on the blood pressure monitor.
You can also manually set up date and time.
1. Install the batteries with correct polarity.
2. Press the START/STOP and Memory/Synchronise buttons simultaneously. The year is displayed.
3. Press the Memory/Synchronise button to change the year. Then press START/STOP to confirm and change to setting the month.
4. Press the Memory/Synchronise button to change the month. Then press START/STOP to confirm and change to setting the day.
5. Continue in the same way to set the date and the time.
Note - Press and hold the Memory/Synchronise button to increment the values faster. This tip can be especially useful for setting the minutes.
4. THE CUFF DOES NOT INFLATE
Check that the cuff is properly connected to the blood pressure monitor.
5. NOTHING APPEARS ON THE BLOOD PRESSURE MONITOR'S SCREEN
Insert a set of new batteries in the device, taking care to respect the polarity.
When the low battery symbol appears on the screen, replace the batteries with a set of new batteries (4 AAA batteries).
Note - Rechargeable batteries are not suitable for this blood pressure monitor.
6. LOW BATTERY SYMBOL IS DISPLAYED ON THE SCREEN
The batteries are low. Please replace them with a set of new batteries.
Note - Rechargeable batteries are not suitable for this blood pressure monitor.
7. NOTHING HAPPENS WHEN YOU PRESS A BUTTON OR INSERT THE BATTERIES
Take the batteries out, wait 5 minutes and reinstall the batteries.
If the problem persists, try with a new set of batteries (4 AAA batteries).
8. LIST OF ERROR CODES
Er 0
The pressure in the air circuit is unstable when the measurement is started. Try again without moving.
Er 1
The blood pressure monitor did not detect systolic pressure. Try again without moving.
Er 2
The blood pressure monitor did not detect diastolic pressure. Try again without moving.
Er 3
The pneumatic system is blocked or the cuff is too tight. Attach the cuff correctly and try again.
Er 4
Air leak in the pneumatic system or the cuff is not tight. Attach the cuff correctly and try again.
Er 5
The pressure in the cuff is higher than 300 mmHg. Wait 5 minutes and try again.
Er 6
The pressure in the cuff is higher than 15 mmHg for more than 3 minutes. Wait 5 minutes and try again.
Er 7
EEPROM access error. Wait 5 minutes and try again.
Er 8
Error checking device settings. Wait 5 minutes and try again.
Er A
Pressure sensor setting error. Wait 5 minutes and try again.
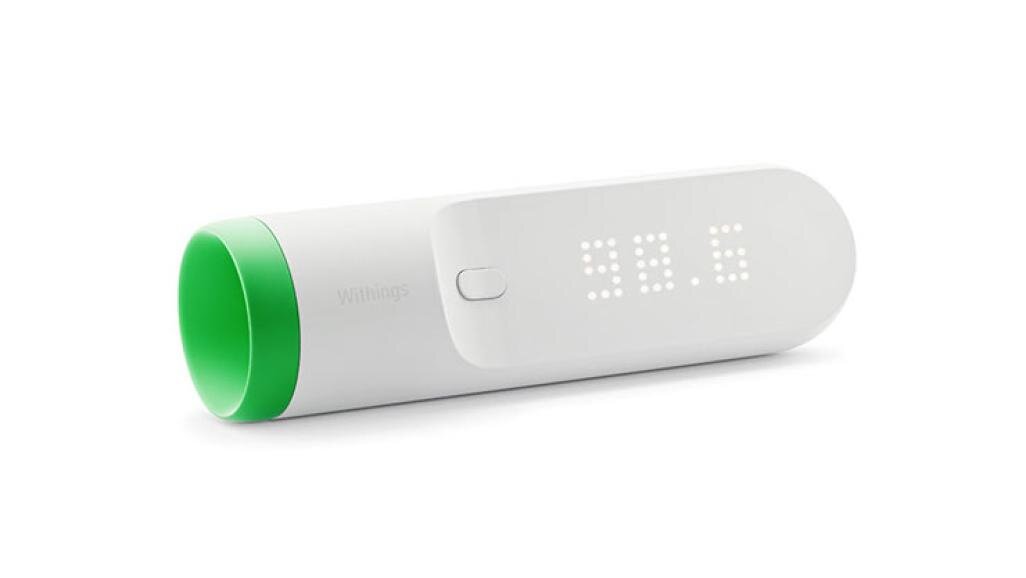
WITHINGS SMART TEMPORAL THERMOMETER
1. THERMO - NO DATA IS SYNCED WITH MY ACCOUNT. WHAT SHOULD I DO?
If no data is synced with your Withings account, perform the following steps:
a. Make sure your Thermo is installed by going to the settings of the app.
If it's not, you have to install it.
b. If you've set up your Thermo in Wi-Fi:
- Make sure that your Wi-Fi works properly.
- Try rebooting your router if necessary.
c. If you've set up your Thermo in Bluetooth:
- Turn off Bluetooth and then turn it back on.
- For Android devices, force quit the app from the Android settings and open the app again.
d. Try taking another measurement to trigger the syncing process.
Note that you may experience syncing issues if you've set up your Thermo in Bluetooth on devices using a different OS (iOS versus Android).
If you still encounter issues, please contact us.
2. YOUR TEMPERATURE SEEMS TOO HIGH
· Make sure you follow the guidelines explaining how to take a measurement.
· Make sure the lens of your Thermo is clean.
· Make sure your Thermo is placed close enough to your forehead: if you place it too far from your forehead, your Thermo could detect another hot spot.
Note: The average temperature is between 36.5°C and 37.5°C (97.7°F and 99.5°F). The Thermo has an accuracy of +/- 0.2°C (0.4°F).
3. YOUR TEMPERATURE SEEMS TOO LOW
· Make sure you follow the guidelines explaining how to take a measurement.
· Make sure the lens of your Thermo is clean.
The Thermo detects the hottest point of your forehead corresponding to your temporal artery. If the measurement gesture is not performed correctly, the Thermo won't be able to detect the temporal artery. Therefore, the measured temperature may be too low.
NOTE: THE AVERAGE TEMPERATURE IS BETWEEN 36.5°C AND 37.5°C (97.7°F AND 99.5°F). THE THERMO HAS AN ACCURACY OF +/- 0.2°C (0.4°F).
4. YOUR BACK-TO-BACK TEMPERATURE MEASUREMENTS SEEM UNSTABLE
The Thermo takes several thousand measurements in 2 seconds to detect the hottest point of your forehead corresponding to your temporal artery. If the measurement gesture is not performed correctly, the Thermo won't be able to detect the temporal artery. Therefore, the measured temperature may be too low.
The Thermo has an accuracy of +/- 0.2°C (0.4°F). It may be possible to notice temperature variations when taking back-to-back measurements.
We recommend you to take your temperature measurement on the same side of your forehead, because temperature can vary between the right and the left side.
Note: The different types of thermometers (temporal, rectal, oral, axillary) use different temperature measurement scales. They can each be used to follow the evolution of a person's temperature through time, but they should not be compared with one another.
If you still encounter issues, please contact us.
5. CLEANING MY THERMO
To clean your Thermo, perform the following steps:
a. Wipe the surface of your Thermo with a soft, dry cloth.
b. Use a cotton swab moistened with warm water to clean the lens.
c. Dry the lens with a clean, dry cotton swab.
Do not, under any circumstance, use any solvent to clean your Thermo.
6. THERMO - CHANGING THE BATTERIES
When the battery level is getting low, it is time to change the batteries. To do so, perform the following steps:
a. Lift the magnetic cover of the battery compartment of your Thermo to open it.
b. Remove the old batteries and dispose of them in accordance with local regulations.
c. Place two new AAA (LR03) batteries in the compartment.
Make sure you follow the polarity markings when placing the batteries.
d. Place the battery cover back.
Advice: To easily remove the battery cover from the Thermo, lightly press in on the cover near the top with your thumb. Then, slowly slide your thumb down to the bottom of the cover where it curves. As it presses against the curve of the battery case, it will slightly open the cover near the notch at the top. You will then be able to easily the cover by sliding your fingernail into the notch and pulling it out.
7. THERMO - TAKING A MEASUREMENT
Before taking a measurement
Make sure you follow these guidelines before taking a measurement:
· The user and the Thermo have to remain in the same ambient temperature for 10 minutes before taking a measurement.
· The measurement has to be taken on dry skin. Sweaty skin could impact the results.
· Make sure the user's hair is not in the way.
· Wait at least 10 minutes after waking up before taking your measurement.
· Wait at least 15 minutes after a workout before taking your measurement.
· If you’re taking the temperature of a baby, make sure you wait at least 15 minutes after nursing him/her before taking a measurement.
· Do not take a measurement on a premature baby.
Taking a measurement
To take a measurement, perform the following steps:
a. Remove the protective cap.
b. Press and release the button of your Thermo.
c. Scan across the forehead in a straight line, starting from the center of the forehead.
- Direct contact with the skin is not necessary. The Thermo can be up to 1 cm (0.5 in.) away from your skin.
d. The Thermo vibrates at the end of the measurement and the result comes up on the display.
e. Slide your finger up or down on the touch sensitive area of the display to select the correct user.
f. Press the button to confirm your choice.
Your measurement is sent to the app after your Thermo turns off.
Note: The Thermo can register approximately 30 measurements without syncing.
Viewing the history of my measurements
Once you’ve assigned a measurement from your Thermo, you can check the history of measurements for the user. To do so, slide the touch sensitive area of your Thermo from bottom to top to go back in time.
You can see the last five measurements taken in the past 72 hours